

Let here be light
Soffit replacement leads to LED upgrade
Advertisement
Read this article for free:
or
Already have an account? Log in here »
To continue reading, please subscribe:
Monthly Digital Subscription
$1 per week for 24 weeks*
- Enjoy unlimited reading on winnipegfreepress.com
- Read the E-Edition, our digital replica newspaper
- Access News Break, our award-winning app
- Play interactive puzzles
*Billed as $4.00 plus GST every four weeks. After 24 weeks, price increases to the regular rate of $19.95 plus GST every four weeks. Offer available to new and qualified returning subscribers only. Cancel any time.
Monthly Digital Subscription
$4.99/week*
- Enjoy unlimited reading on winnipegfreepress.com
- Read the E-Edition, our digital replica newspaper
- Access News Break, our award-winning app
- Play interactive puzzles
*Billed as $19.95 plus GST every four weeks. Cancel any time.
To continue reading, please subscribe:
Add Free Press access to your Brandon Sun subscription for only an additional
$1 for the first 4 weeks*
*Your next subscription payment will increase by $1.00 and you will be charged $16.99 plus GST for four weeks. After four weeks, your payment will increase to $23.99 plus GST every four weeks.
Read unlimited articles for free today:
or
Already have an account? Log in here »
Hey there, time traveller!
This article was published 08/06/2024 (657 days ago), so information in it may no longer be current.
During a variety of other tasks on the property, the homeowner inquired about replacing the dark brown soffit below the extended roofline of a covered deck area in the backyard. Although the main fascia and soffits along the perimeter of the house were also brown, the dark ceiling of this 14-by-12-foot overhang kept this upper deck tier dimly lit throughout the day. As such, we discussed replacing the soffit with that of a lighter colour. And while we were at it, could the old pot lights also be replaced?
The actual soffit replacement was outsourced to my good buddy, Geordie Cruickshank and his fabulous crew at PrairieSky Roofing. After assessing the area, and determining that the original dark brown soffit had been installed before the stucco, it would be near impossible to remove the existing L-channel along the wall(s) because it was embedded within the stucco. As such, I suggested we strap the existing ceiling with 2×4 supports after removal of the old soffit, and install the new light beige soffit at the slightly lower elevation to “hide” the old L-channel. With the plan in place, the PrairieSky crew began the covered deck soffit upgrade a short while later, with tremendous results upon completion.
Throughout the evaluation process, I had been keenly aware of the need to also upgrade the existing four LED pot lights — the old baffles and trim had not weathered well, rust had become predominant along most of the exposed surfaces making them quite unsightly. In lieu of extracting the old pot light boxes, mounted above the old soffit, which would then require rewiring new LED pot lights, it seemed much simpler to source retrofit LED pots of same diameter. While discussing this with the homeowner, it was suggested that if such a retrofit could work in the back, could we also address the three “ugly” pot lights in the front, two at the garage overhead door and one at the front entrance. Thus, the search for the perfect retrofit LED pot light began.
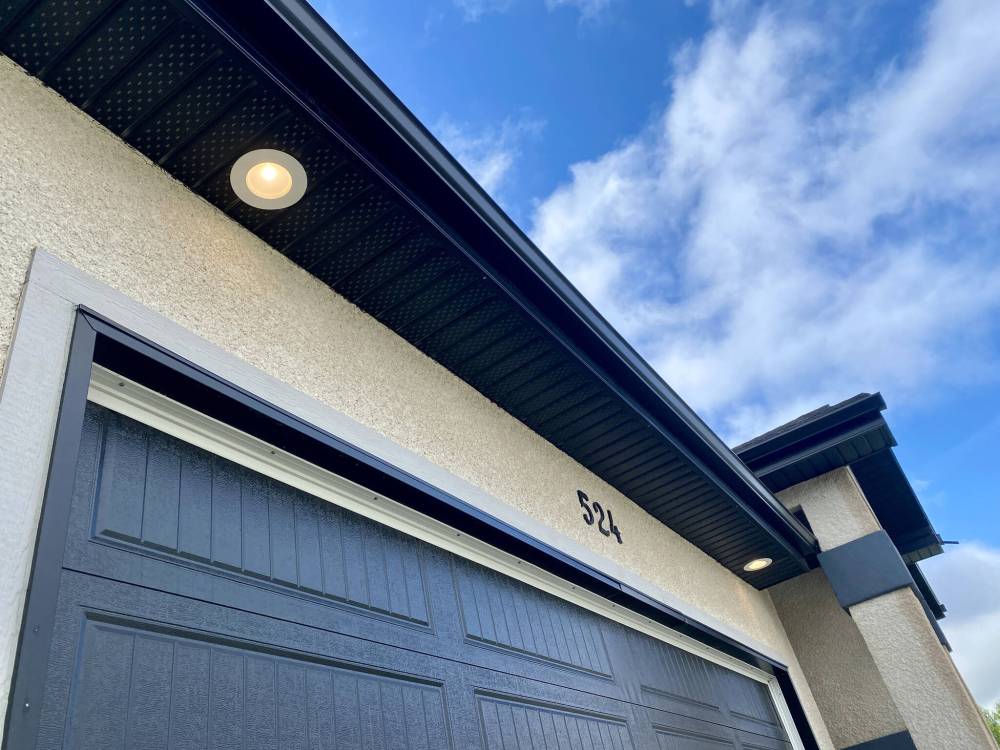
Photos by Marc LaBossiere / Free Press
The two lighting locations along the dark brown soffit of the garage at the front of the house were upgraded to retrofit LEDs.
Typically, a new installation of LED soffit lighting is quite straightforward. The LED slims that are often used for interior applications are also rated for exterior use. This style of LED is wired to a junction box, that is then connected to the light itself. Once the proper hole is cut into the soffit, spring hinges along either side of the light hold the fixture against the soffit. This tension-fit style of LED provides a reliable mount, and truly expedites the installation. In this instance however, the old boxes would remain. As such, it was necessary to source a fixture that could adapt to the existing pre-wired box, and also provide an adequate mounting procedure.
While rummaging through the aisles of the local hardware store, the perfect solution presented itself. A versatile retrofit LED, that caters to either a five, or six-inch light size, with an eight-inch exterior trim diameter (that matches the existing baffels), also comes with a socket adapter that essentially means instead of having to rewire each new LED, the socket adapter simply screws into the old lightbox and provides power leads to the new LED by way of a connector. Moreover, the new LED retrofit fixtures provide five hue settings, from warm light at 2400K to bright at 5000K. With a few mounting options as well, the supplied tension arms on either side of the new fixture could be inserted into the old light box cannister with enough hold to ensure the LED remains mounted.
After installing the front three LEDs quite easily, the back four were then mounted after small modifications to each of the existing light cannisters — strapping the overhang before installing the new soffit had created a substantial gap between the lower edge of the old cannisters, and the topside of the new soffit. As such (and fortunately), the old cannisters allowed for an elevation adjustment. But loosening a few screws within each cannister cavity, the inner portion could slip down by roughly an inch-and-a-quarter, nearly filling the gap to the topside of the new soffit. This process then allowed the same mounting procedure as the three LEDs at the front of the house. In short order, the four LEDs in the back were then completely installed, and all lighting was then tested.
Inadvertent requests can sometimes lead you down paths less travelled. And more often than not, the revelations at the end of an impromptu escapade will no doubt broaden knowledge, and provide better options for future projects. Although I had heard of these types of retrofit LED lighting alternatives, this is the first time I’ve been able to use them as a solution to a lighting upgrade. And this project under my belt, it definitely won’t be the last.
RenoBoss.Inc@outlook.com
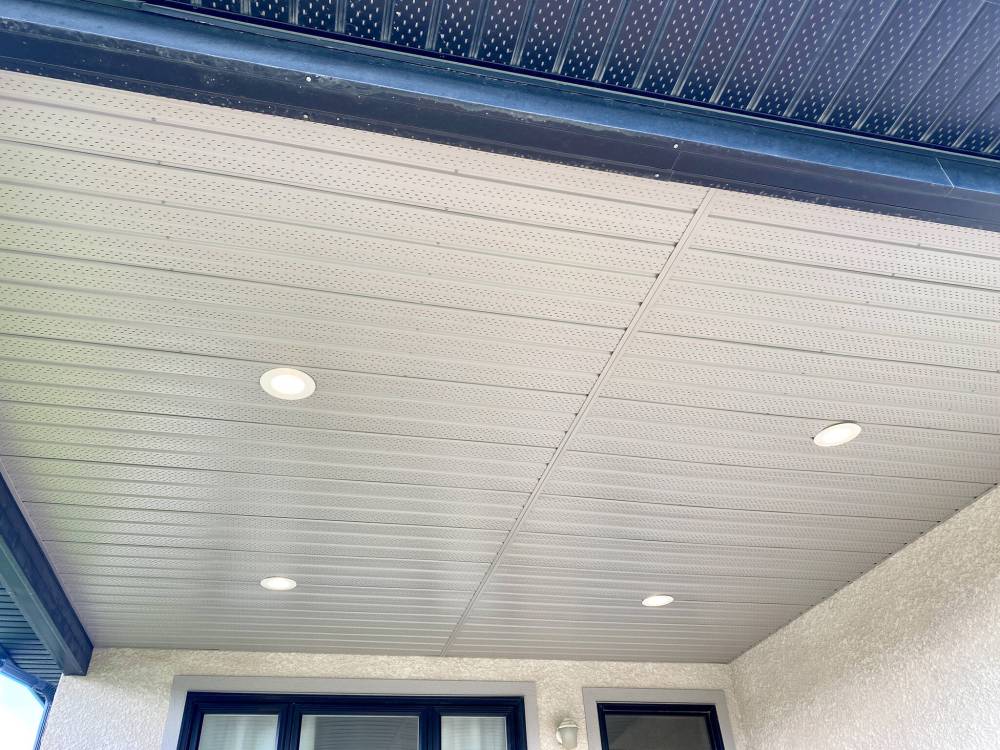
Once PrairieSky completed the light beige soffit upgrade at the covered deck at the back of the house, the four lighting locations were prepped to receive new retrofit LEDs.
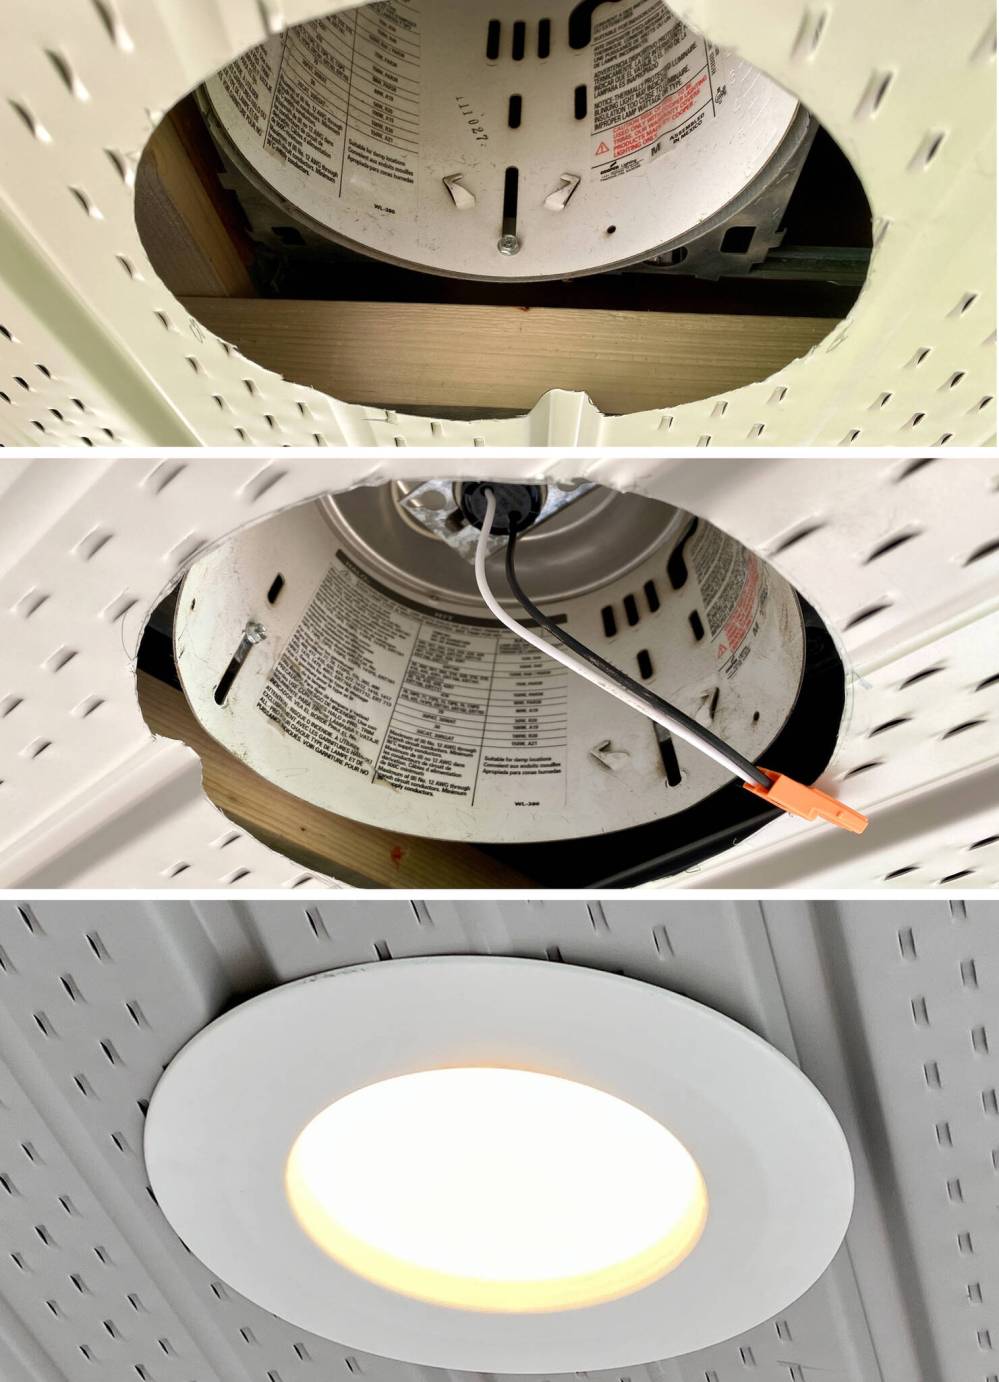
The old cannisters were adjusted down to fill the gap above the topside of new soffit, and once the socket adapter was in place, the new LED was mounted.