

Restoring a vehicle’s trim
Slow and easy is the only approach to this task
Advertisement
Read this article for free:
or
Already have an account? Log in here »
To continue reading, please subscribe:
Monthly Digital Subscription
$0 for the first 4 weeks*
- Enjoy unlimited reading on winnipegfreepress.com
- Read the E-Edition, our digital replica newspaper
- Access News Break, our award-winning app
- Play interactive puzzles
*No charge for 4 weeks then price increases to the regular rate of $19.95 plus GST every four weeks. Offer available to new and qualified returning subscribers only. Cancel any time.
Monthly Digital Subscription
$4.99/week*
- Enjoy unlimited reading on winnipegfreepress.com
- Read the E-Edition, our digital replica newspaper
- Access News Break, our award-winning app
- Play interactive puzzles
*Billed as $19.95 plus GST every four weeks. Cancel any time.
To continue reading, please subscribe:
Add Free Press access to your Brandon Sun subscription for only an additional
$1 for the first 4 weeks*
*Your next subscription payment will increase by $1.00 and you will be charged $16.99 plus GST for four weeks. After four weeks, your payment will increase to $23.99 plus GST every four weeks.
Read unlimited articles for free today:
or
Already have an account? Log in here »
Hey there, time traveller!
This article was published 01/04/2010 (5763 days ago), so information in it may no longer be current.
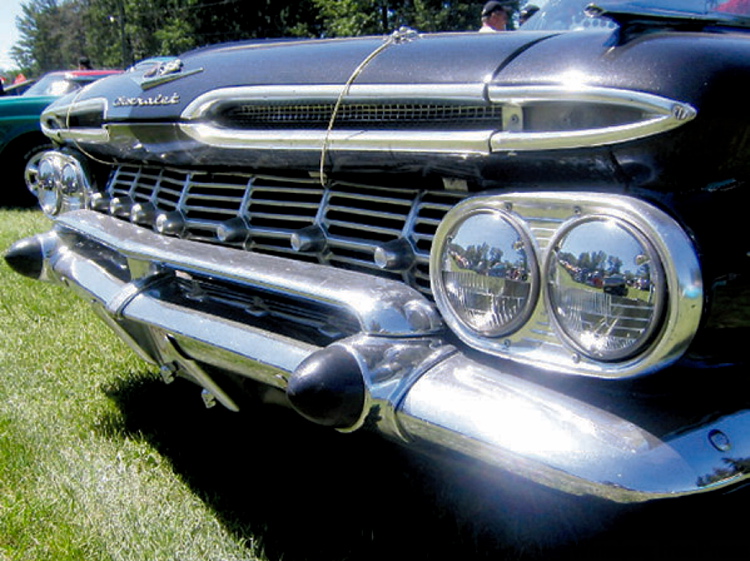
Walking into a car show can be an awe-inspiring experience, with all of the glitz and glitter from the custom paint and shining chrome trim.
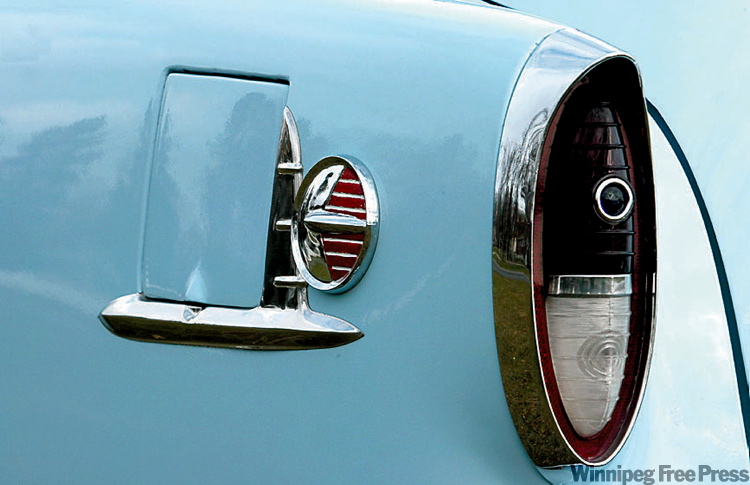
On any project, paint is paint and chrome plating is chrome plating. And while both have to be done correctly, polishing the stainless-steel trim is what takes a project over the top. Imagine looking at a beautiful vehicle with great paint and chrome, yet the side-trim and lamp bezels are so scraped and scratched they look like they belong on a farm truck.
In reality, these trim pieces can be successfully refurbished and reused. You’ll notice I didn’t say, "easily done", because it’s far from easy. Labour-intensive would be a better way of describing it, yet it isn’t out of the grasp of most who are willing to try and learn from your mistakes. It becomes an acquired skill that some will pick up and master while some can eke through to get the job done.
First, removing the trim from your vehicle is a process that should be done very carefully. A vast majority of the damage to these pieces is from improper removal. Locate a body manual for your vehicle — many have been reproduced and some originals will show up on eBay from time to time. Manuals will not only show you how trim pieces are held on, but also how to remove them without damage and what the special clips look like when it comes time to order new ones.
Slow and easy is your only approach to this task. Damaged trim is always harder to restore, so you save considerable time if you can locate a straight replacement. Don’t discard the damaged piece — use it as a practice piece for trial-and-error learning.
Stainless-steel trim is quite hard, so to restore it you’ll need a bench vise, a collection of hammers in various sizes, a good set of files, chisels, sandpaper, a buffer, polishing wheels, finishing compounds and plenty of spare time.
For a buffer, pick one that has the ability to mount at least an eight- or 10-inch buffing wheel and a sturdy stand. Some have modified a simple bench grinder to accommodate polishing wheels, but it still needs to be mounted on a stand and most run at lower r.p.m. and have less horsepower than a purpose built buffer. For buffing wheels, choose both spiral-sewn ones for heavy polishing and open ventilated or loose buff wheels for finish polishing.
As for polishing compounds, each is formulated to produce a different cutting effect. I’ve found that small kits with various types can be used for small jobs, but for trim-laden 1950s vehicles you need lots of compound. The general rule here is also to purchase one polishing wheel for each compound you use, because you can’t mix them.
At this point I know some of you are asking, "Why even try if it’s that hard?" Obtain a few estimates for restoring your trim from local establishments who perform this service and you’ll soon see that it’s costly. If your pockets are deep and you feel your time could be better spent on other tasks or pleasures, by all means write that cheque. For those who can spend the time to save a few bucks and enjoy the project, this may be a way to go.
To begin, remove road grim from trim with a cleaner. I’ve found Simple Green or dish liquid works as well as chemicals and is more environmentally friendly. Once clean, lay the piece out and assess its condition. Separate the trim that only needs polishing from those pieces that need straightening or dent removal.
A hammer and chisel works well to restore a crease, while small hammers and a miniature anvil or dolly can be used to remove small dents. You can also work out pits in the metal or file down high spots working from coarse to finer files, but be careful not to go so far as to create a hole. While holes can be repaired with a mig welder fitted with stainless 024 wire and a helium gas mixture, it’s a process best left to the pros.
After filing, finish with a 220-grit wet sandpaper to remove the file marks.
When it comes time to start polishing, try to do it outdoors — good ventilation is required because the procedure that can produce a lot of soot-like residue. Wear protective coveralls, a face shield or safety eyeglasses and at least a good particle mask. Always work under the wheel and maintain a firm grasp as you draw your piece back opposite the wheel’s rotation. For smaller pieces, tape them securely with masking tape to a piece of scrap wood so you can maintain control.
Work first with the coarser polishing compounds, taking out deeper scratches and inclusions, and progress to the finishing compounds for that brilliant shine. Maintain an even pressure, don’t force the piece into the wheel and keep it moving so you don’t overheat it. Stainless steel will turn blue with heat and, once that happens, it’s ready for the scrap bin. For additional information, check the better bookstores for how-to books on polishing metal, or hit the many sites on the Internet.
Making your restoration stand out and earn the accolades it deserves means taking care of the details, and polished stainless-steel trim is one of those you can’t overlook. Is it impossible to do at home? No. Is it cost-effective? For many yes. But as Ringo Starr sang, "You know it don’t come easy."