Bathroom reno leads to urinal envy
Existing plumbing made installation a breeze
Advertisement
Read this article for free:
or
Already have an account? Log in here »
To continue reading, please subscribe:
Monthly Digital Subscription
$0 for the first 4 weeks*
- Enjoy unlimited reading on winnipegfreepress.com
- Read the E-Edition, our digital replica newspaper
- Access News Break, our award-winning app
- Play interactive puzzles
*No charge for 4 weeks then price increases to the regular rate of $19.00 plus GST every four weeks. Offer available to new and qualified returning subscribers only. Cancel any time.
Monthly Digital Subscription
$4.75/week*
- Enjoy unlimited reading on winnipegfreepress.com
- Read the E-Edition, our digital replica newspaper
- Access News Break, our award-winning app
- Play interactive puzzles
*Billed as $19 plus GST every four weeks. Cancel any time.
To continue reading, please subscribe:
Add Free Press access to your Brandon Sun subscription for only an additional
$1 for the first 4 weeks*
*Your next subscription payment will increase by $1.00 and you will be charged $16.99 plus GST for four weeks. After four weeks, your payment will increase to $23.99 plus GST every four weeks.
Read unlimited articles for free today:
or
Already have an account? Log in here »
Hey there, time traveller!
This article was published 08/09/2018 (2634 days ago), so information in it may no longer be current.
It occurred to me last week during a meeting with a potential client, that I have never actually detailed in one of my weekly columns how the existing portion of my second-floor bathroom had been modified during the studio expansion.
The old bathroom was a fully functional three-piece before the renovation — the space allocated to the new bathroom in my studio expansion design nearly tripled the bathroom’s footprint. Although it’s now considered a four-piece bath, in all actuality it’s more like a five-piece. And it’s the fifth element that sets my bathroom apart from most others.
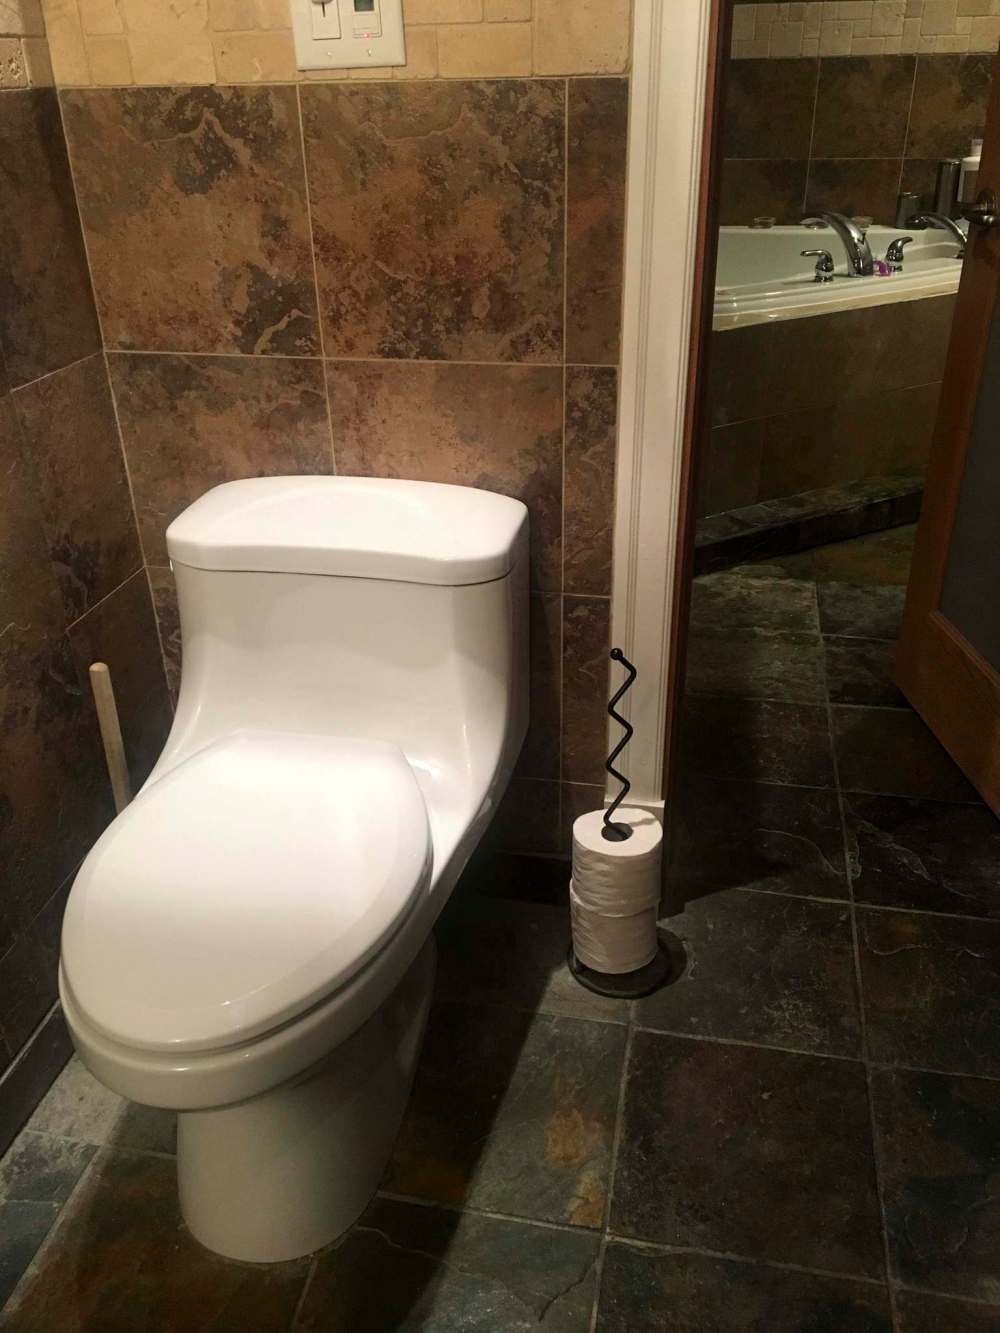
During the planning stages of my studio expansion, introducing an entrance into the proposed studio space at the top of the existing staircase was fairly straight forward. In an effort to reduce the potential for noise emanating from the studio during a recording session, an L-shaped jog was created in the hallway which leads to the studio space. This in turn allowed for an increase to the width of the proposed bathroom expansion at the far side, which in retrospect was the only way that both a corner jacuzzi tub and separate shower stall could exist adjacent to each other. Once construction began, the old bathroom remained in use until it was time to switch over to the new space. Two elements of the old bathroom have not been relocated: the sink and vanity, as well as the toilet remain in the same positions. The old tub/shower, however, was completely removed to allow for a walkway towards the newly introduced bathroom expansion by way of a new doorway, which segregates the new space with jacuzzi tub and separate shower stall from the existing bathroom.
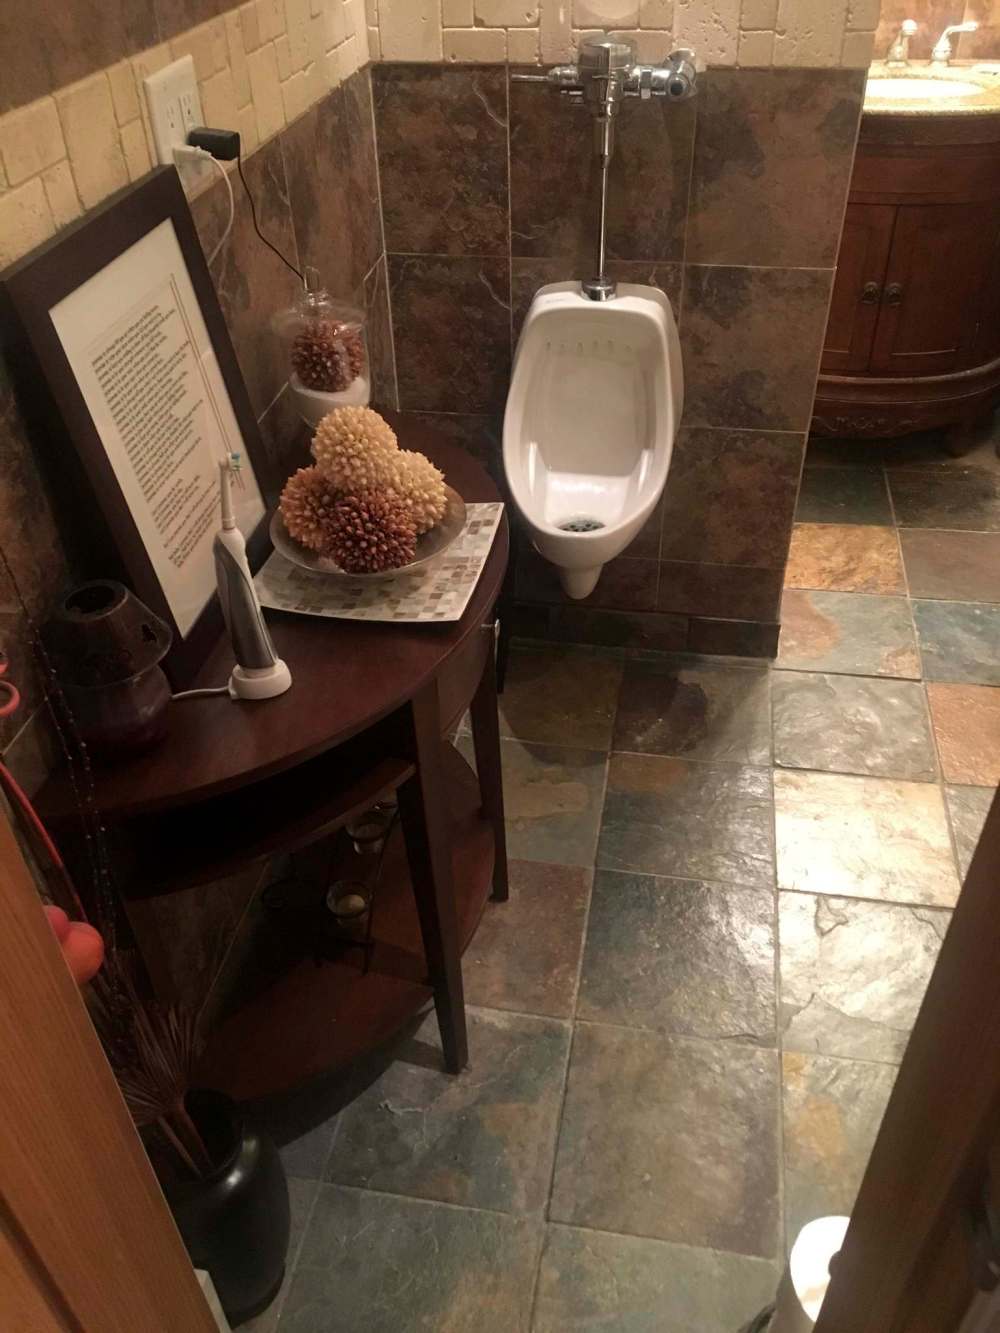
The prospect of recycling, reusing and repurposing tends to always influence my design choices. This particular bathroom expansion scenario provided a rare opportunity to perpetuate this mandate. Once the new tub and shower were ready for use, the old tub and shower faucet were completely removed. And rather than abandon the old tub plumbing, I elected to add a fifth element to my remodelled bathroom plan, which has since been quite popular with the gents — my very own urinal! Yes ladies, the bathroom on my second floor has a urinal.
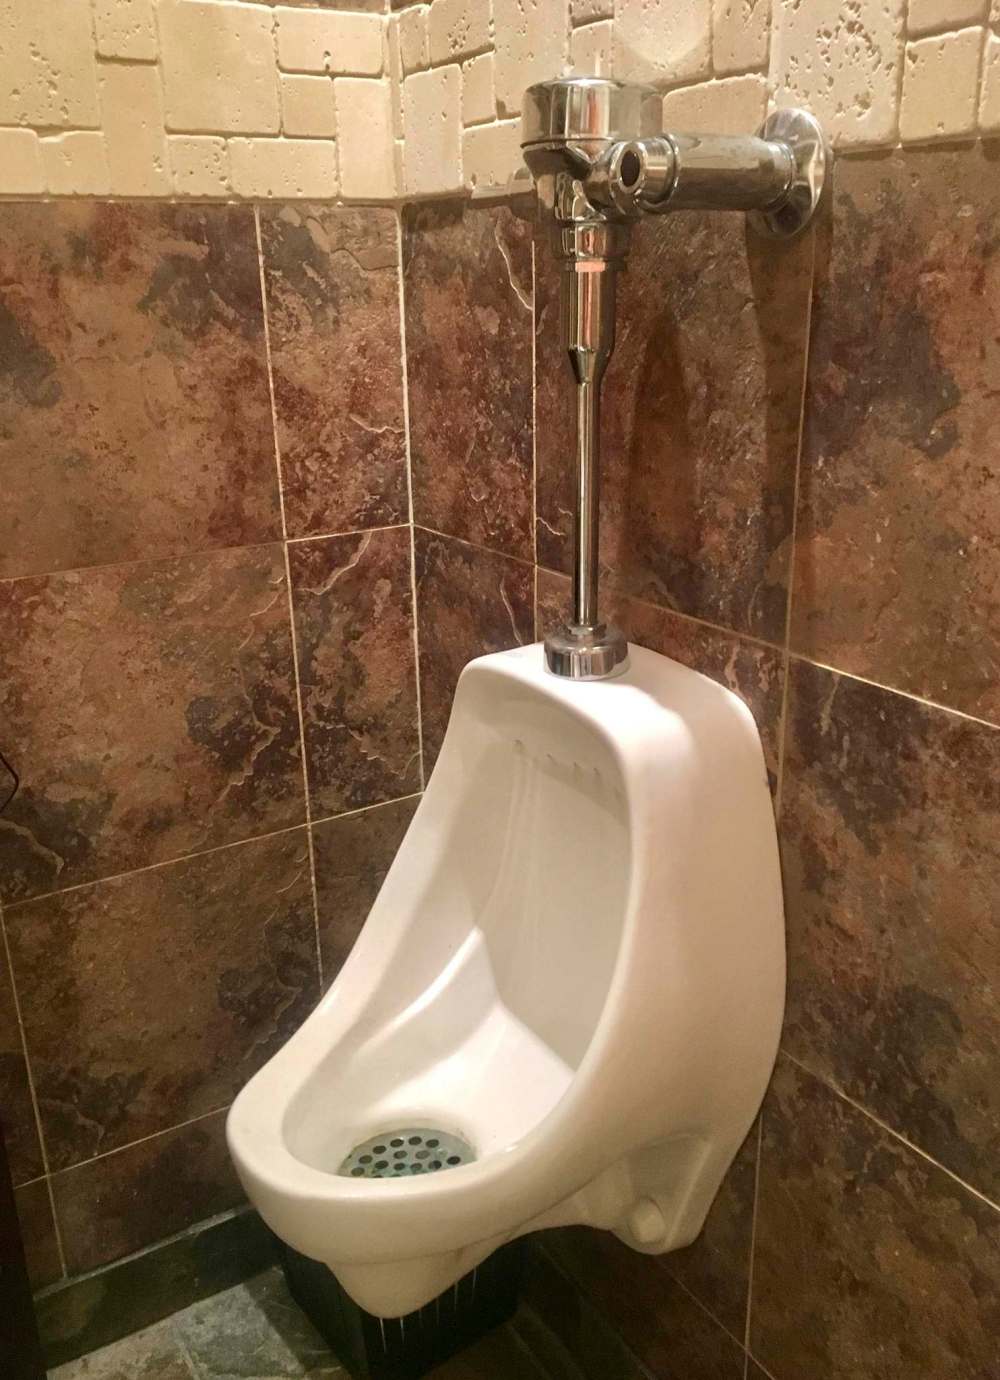
To the best of my recollection, hunting down an aesthetically pleasing urinal that could be used in a residential setting was not as easy as I thought it would be — definitely not an item stocked at the local Rona or Home Depot. After several calls, it wasn’t until a discussion had with a gentleman at B. A. Robinson Co. Ltd that my search would render a few choices that could possibly satisfy my in-home urinal application. And once presented with a few options, I chose a urinal that would best suit my needs aesthetically, as well as functionally. Once my new urinal was on site, I carefully perused all installation instructions prior to any modifications to my existing plumbing — being that this was my first attempt at a urinal install, I wanted to be absolutely certain of the steps involved, before any of the tasks began.
The tub drain was first repositioned back and under the wall framework so that the urinal drain flange could be set within the wall. The cold feed was also redirected based on the urinal’s flushing mechanism requirements — the hot feed was simply abandoned altogether. The urinal itself required a mount, which was pre-fastened to the wall at the proper height, allowing for tile depth between the back of the urinal and the drywall. The urinal was set into position and both the drain and cold feed were tied in respectively. After a few minor adjustments to the flushing mechanism, the urinal was ready for use. And once the existing bathroom space was fully tiled to match the new bathroom expansion, it was as if the urinal had always been there — to this day, it makes me wonder why urinals aren’t more prevalent in residential homes.
Despite all the time I spent tiling my new bathroom space, with slate stone flooring throughout, soapstone tile around the jacuzzi tub and ceramic wall tiles within the shower stall and to shoulder height elsewhere around the perimeter of the entire bathroom, including accent border tiles and top edging, it is always the urinal that receives the most attention. I’ve come to expect ongoing urinal accolades. A few of my buds even admitted to having urinal envy — I mean, who wouldn’t want one at home? It’s pretty cool and easy to install.
Although, convincing the Mrs. that a urinal in your bathroom at home is a good idea will of course be your biggest hurdle…
BossEnterprise@outlook.com