

Never the same bathroom project twice
Advertisement
Read this article for free:
or
Already have an account? Log in here »
To continue reading, please subscribe:
Monthly Digital Subscription
$0 for the first 4 weeks*
- Enjoy unlimited reading on winnipegfreepress.com
- Read the E-Edition, our digital replica newspaper
- Access News Break, our award-winning app
- Play interactive puzzles
*No charge for 4 weeks then price increases to the regular rate of $19.95 plus GST every four weeks. Offer available to new and qualified returning subscribers only. Cancel any time.
Monthly Digital Subscription
$4.99/week*
- Enjoy unlimited reading on winnipegfreepress.com
- Read the E-Edition, our digital replica newspaper
- Access News Break, our award-winning app
- Play interactive puzzles
*Billed as $19.95 plus GST every four weeks. Cancel any time.
To continue reading, please subscribe:
Add Free Press access to your Brandon Sun subscription for only an additional
$1 for the first 4 weeks*
*Your next subscription payment will increase by $1.00 and you will be charged $16.99 plus GST for four weeks. After four weeks, your payment will increase to $23.99 plus GST every four weeks.
Read unlimited articles for free today:
or
Already have an account? Log in here »
The old adage, “if you’ve seen one, you’ve seen them all,” definitely does not apply to bathroom renovations.
Although the finished results from one project to the next may appear similar, the paths to get there often require a variety of dissimilar steps. A bathroom job completed a short while ago is a perfect example.
Generally, a bathroom remodel requires a few typical enhancements: a tub and shower stall facelift, a new sink vanity and mirror, tub and toilet replacements, new lighting fixtures and possibly new flooring. To achieve these outcomes in the simplest manner requires the removal of the “old” to make way for the “new.” The process becomes more complex when the existing sub-surfaces are no longer viable. For instance, after removing the existing tile along the tub and shower wall reveals a mouldy backer, the existing drywall is replaced with new aqua-board.
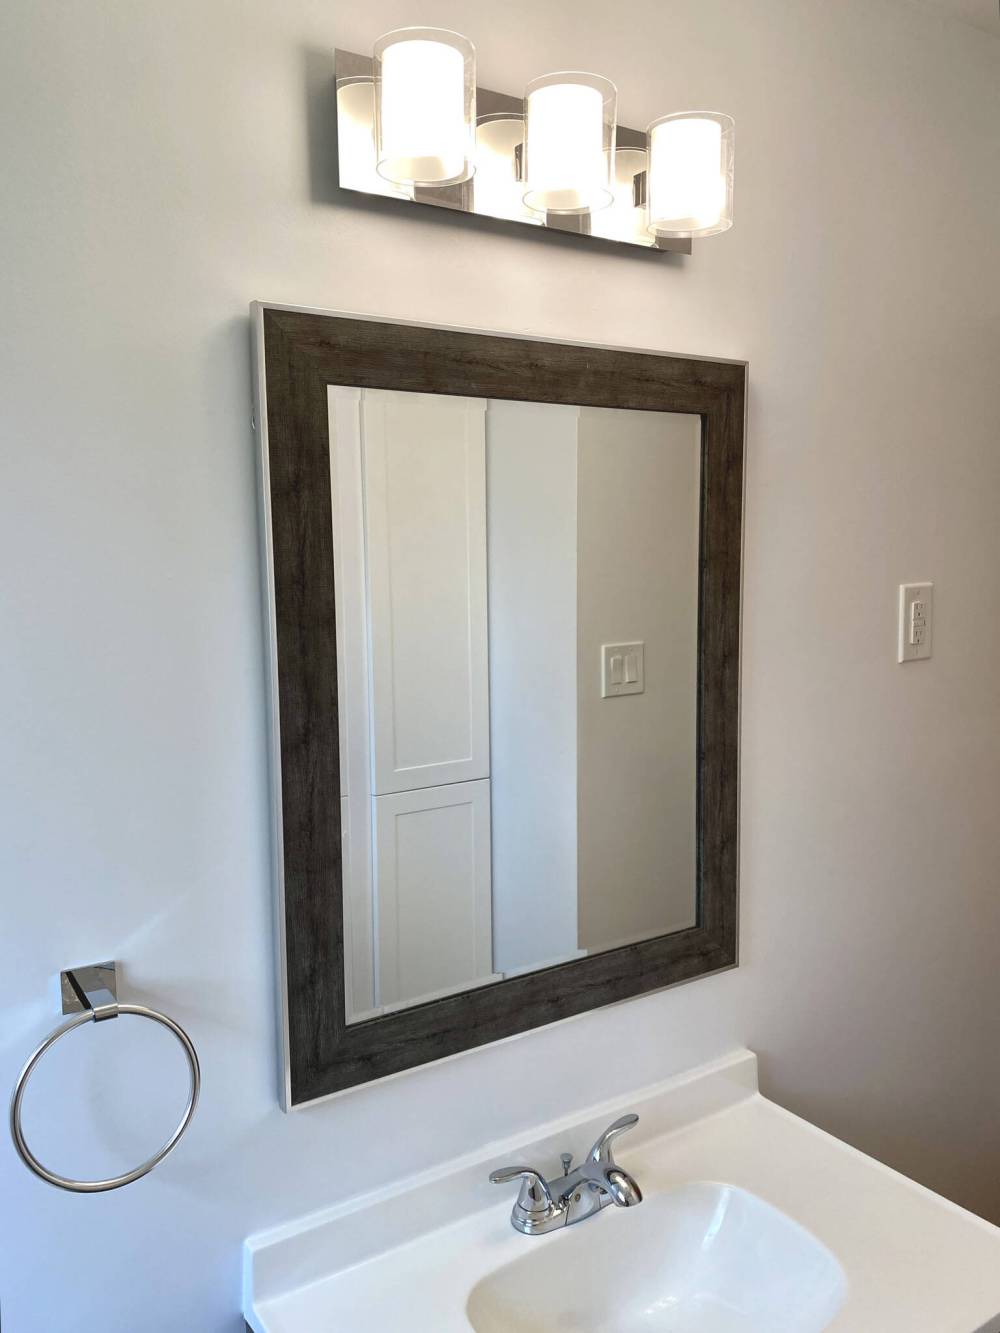
The new light fixture was moved to align with the mirror and vanity.
At a recent bathroom upgrade (part of a much larger project at an impending rental property), the existing space was in terrible shape. The ceiling and wall paint had begun to flake, discoloured from years of moisture. The tub, sink and toilet were badly stained from the hard water in the area. The electrical outlet was not GFCI. The old vanity was not centred during installation, and was offset from both the partially inset medicine cabinet and the vanity light fixture above it. The linoleum flooring was lifting along all seams and revealed a gap along the base of the tub. Every single water feed and drain revealed a minor leak of some sort, likely overlooked due to the bigger issue of water in the domicile’s basement, which was recently rectified by introducing a much needed sump pump to manage the elevation of the water table.
Short of exposing all the surfaces within the space, the drywall within the tub and shower stall was removed completely for replacement, which also aided in removal of the old tub. The partially inset medicine cabinet was extracted and the inset filled, once the light fixture above was repositioned to better centre the planned introduction of a new sink vanity.
Once the old toilet was dislodged and the existing tub spout and shower array removed, the plumbing leaks were addressed throughout the space. A new tub and shower array was created using half-inch copper and the brass shower faucet valve included in the new tub and shower faucet package. New shut-off valves were attached to the existing toilet and sink water feeds, and the old ABS drains were updated at the sink’s trap location and from the tub drain to the stack, to eliminate any lingering leak issues.
Prepping the space for paint proved to be the most surprising step. Beyond the flaky ceiling which was easily rectified with sanding and a few coats of mud, the walls throughout were laminated with a layer of half-inch drywall from shoulder-height to the floor, edged with wooden L-trim. Although the trim was easy to remove, the drywall had been glued to the original drywall behind it — this created quite a mess during the removal process.
No matter, I felt it was still an effective use of time to simply remove the layered drywall and subsequently finish it with a few coats of mud in lieu of removing all the drywall along the walls, primarily because the house had been sheeted using overlapping three-eighth-inch drywall, which would be extremely time-consuming to mimic.
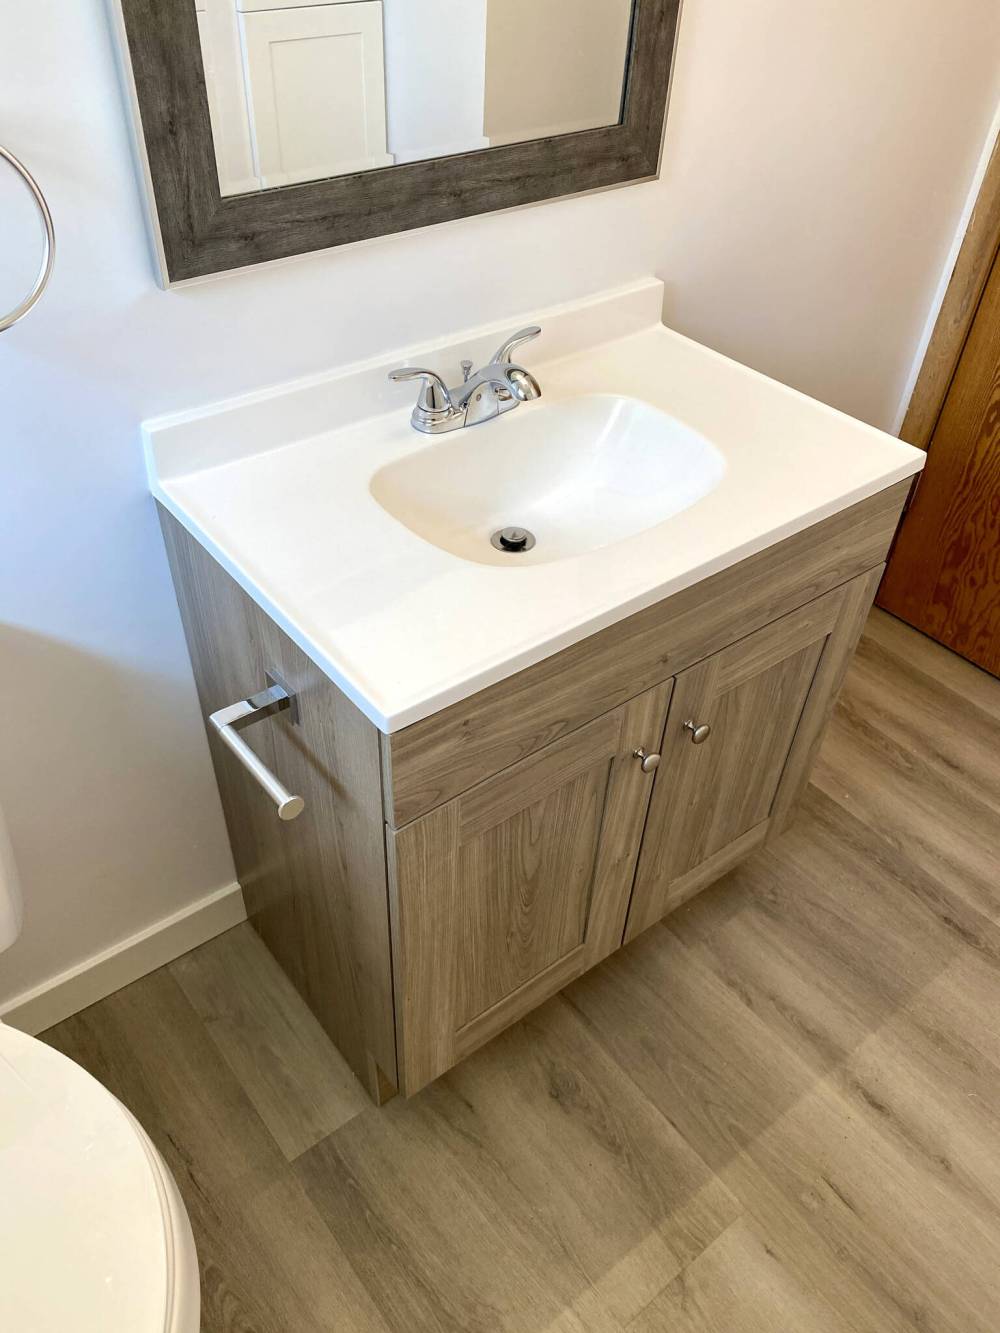
The new vanity is centred below the matching mirror.
Once the walls were freed from that layer of drywall, the entire area was mudded several times, including the filled inset where the old medicine cabinet was mounted. After proper sanding, the surfaces were primed and given two coats of bathroom paint with a satin sheen.
With the shell formally prepped, the shower stall was adorned with white eight-by-16-inch subway tiles set horizontally, atop the new tub. The tile was then grouted and the seams along the tub’s top edge sealed using silicone.
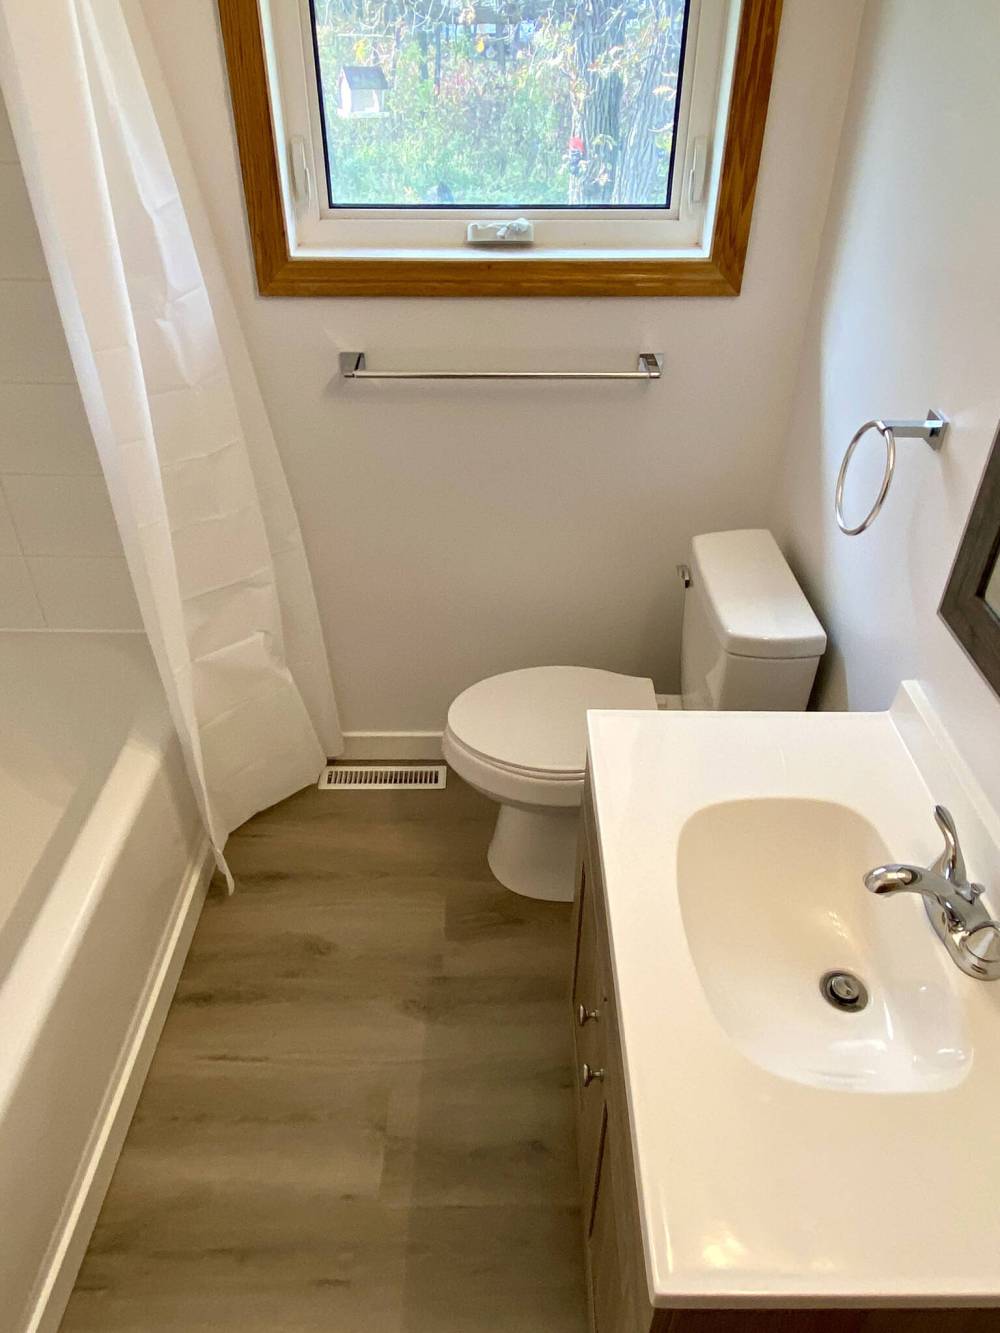
Once the new vinyl flooring was installed, the toilet was mounted on the flange, the vanity was secured to the wall, centred below the new light fixture mirror, hung conveniently above the new vanity’s countertop and sink faucet. A new GFCI outlet was installed, and new cabinet doors were secured along the wall edge of the linen closet, which is located behind the shower faucet wall of the tub and shower stall.
The new tub spout and shower faucet were then mounted along with the multi-function shower heads. Once the curved shower curtain rod was fastened to the tiled walls, the various towel racks and toilet paper dispenser were secured where best suited. The entire floor perimeter then received new PVC baseboards to resist the effects of water over time. Every seam was then sealed with silicone to prevent any water breaches along the vinyl flooring.
Although the outcome of this primarily white and generic bathroom project may seem run-of-the-mill, the processes required to reach the final result were somewhat unexpected. And even though it’s always plausible to expect a few leaks now and again, I did not anticipate one at every water feed drain. Moreover, the half-inch layered drywall at shoulder height along every wall was a first for me — I can only assume a previous owner elected to “decoratively build out” the walls in the bathroom at some point, and cap the edges with wooden L-trim. It makes zero sense to me, but fortunately it no longer matters.
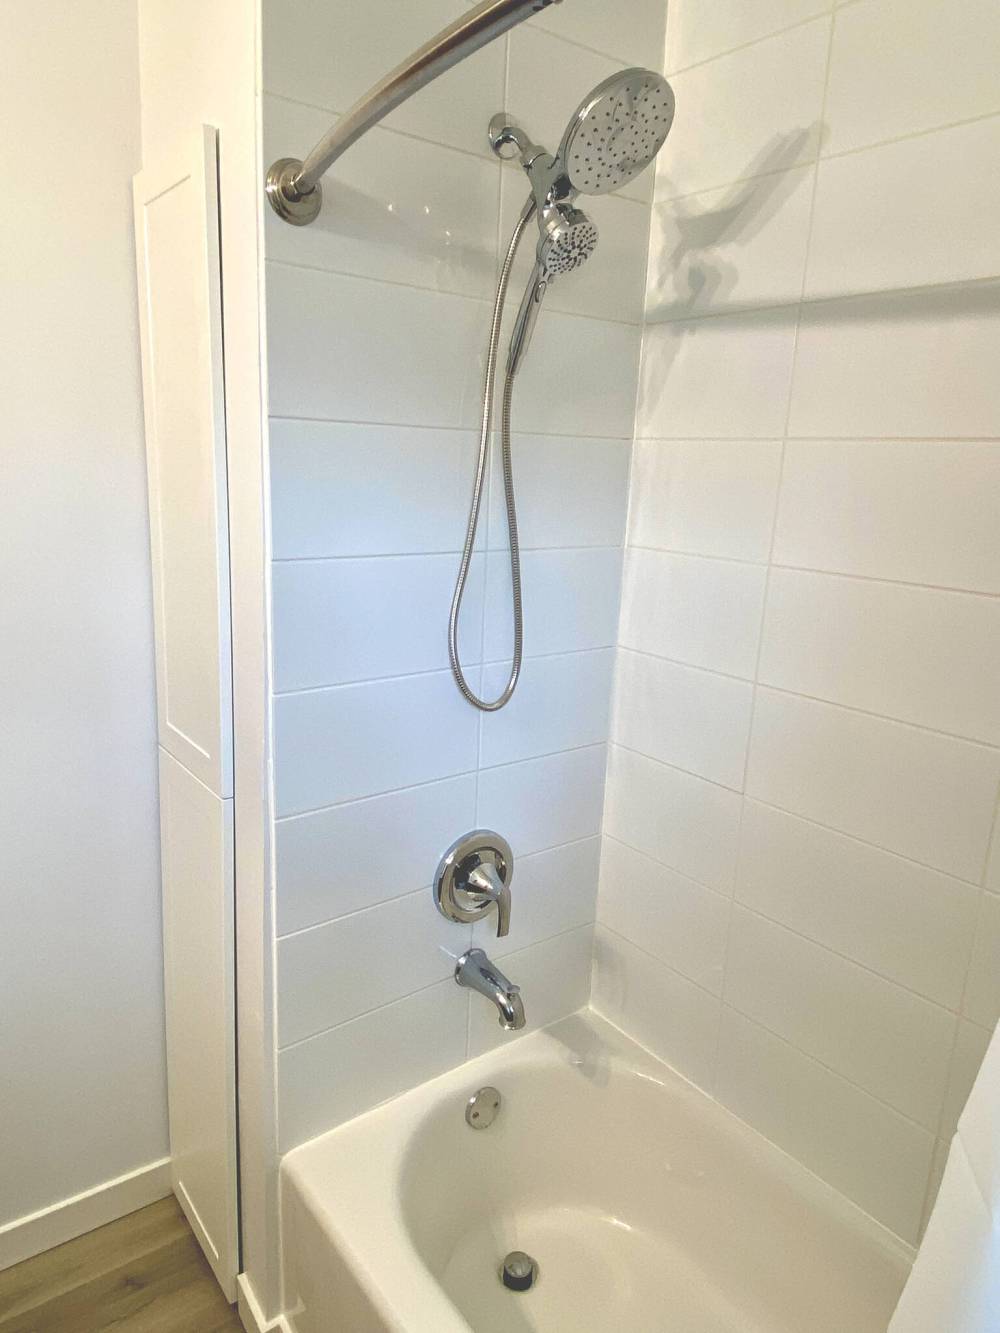
The new tub spout, shower head and faucet complement the updated stall.
RenoBoss.Inc@outlook.com
Marc LaBossiere / Free Press
The bathroom was nearly gutted before the remodel could begin.
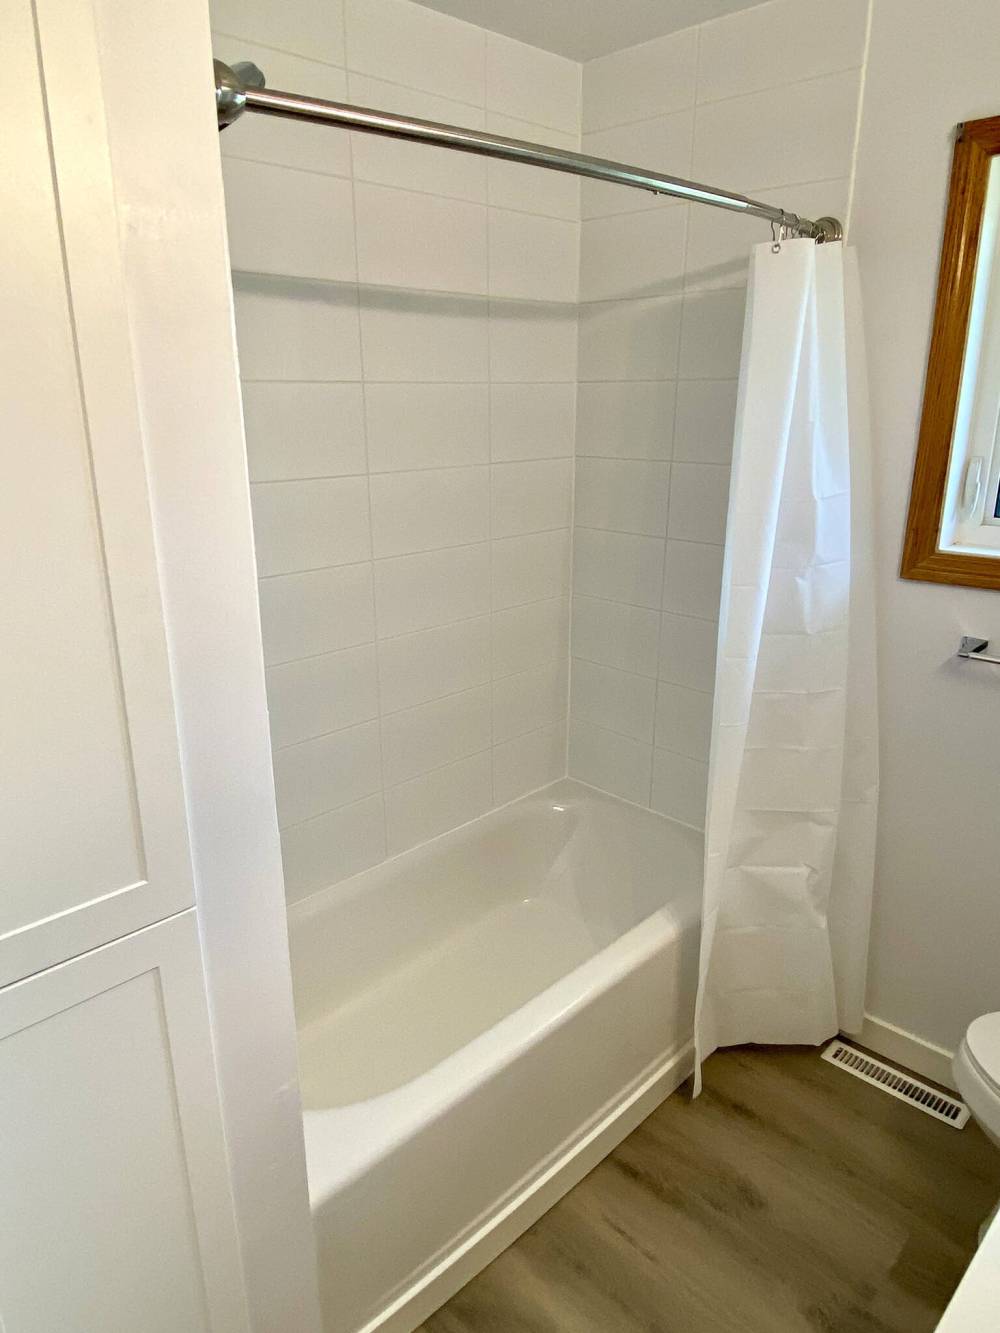
The new tile and tub liven up the shower stall.