

Surprise!
Kitchen demo leads to baffling discovery
Advertisement
Read this article for free:
or
Already have an account? Log in here »
To continue reading, please subscribe:

Digital Subscription
One year of digital access for only $205*
- Enjoy unlimited reading on winnipegfreepress.com
- Read the E-Edition, our digital replica newspaper
- Access News Break, our award-winning app
- Play interactive puzzles
*First annual payment billed as $205.00 + GST for one year. This annual subscription will automatically renew at $233.00 + GST every 52 weeks (10% off the regular annual price of $259.35). Offer available to new and qualified returning subscribers only. Cancel any time.
To continue reading, please subscribe:
Add Free Press access to your Brandon Sun subscription for only an additional
$1 for the first 4 weeks*
- Enjoy unlimited reading on winnipegfreepress.com
- Read the E-Edition, our digital replica newspaper
- Access News Break, our award-winning app
- Play interactive puzzles
*Your next Brandon Sun subscription payment will increase by $1.00 and you will be charged $17.95 plus GST for four weeks. After four weeks, your payment will increase to $24.95 plus GST every four weeks.
Read unlimited articles for free today:
or
Already have an account? Log in here »
During the demolition process, I’ve learned to expect the unexpected.
During a bathroom expansion project a decade ago, I discovered live electrical feeds had been left within a closed wall that was insulated with wood chips and old newspapers. I found them the old-fashioned way, when reaching up into the stud cavity. After the jolt wore off, each line was properly terminated into an outlet box.
A similar situation occurred at a recent kitchen facelift project, during a demolition task that hadn’t even been planned.
Photos by Marc LaBossiere / Free Press
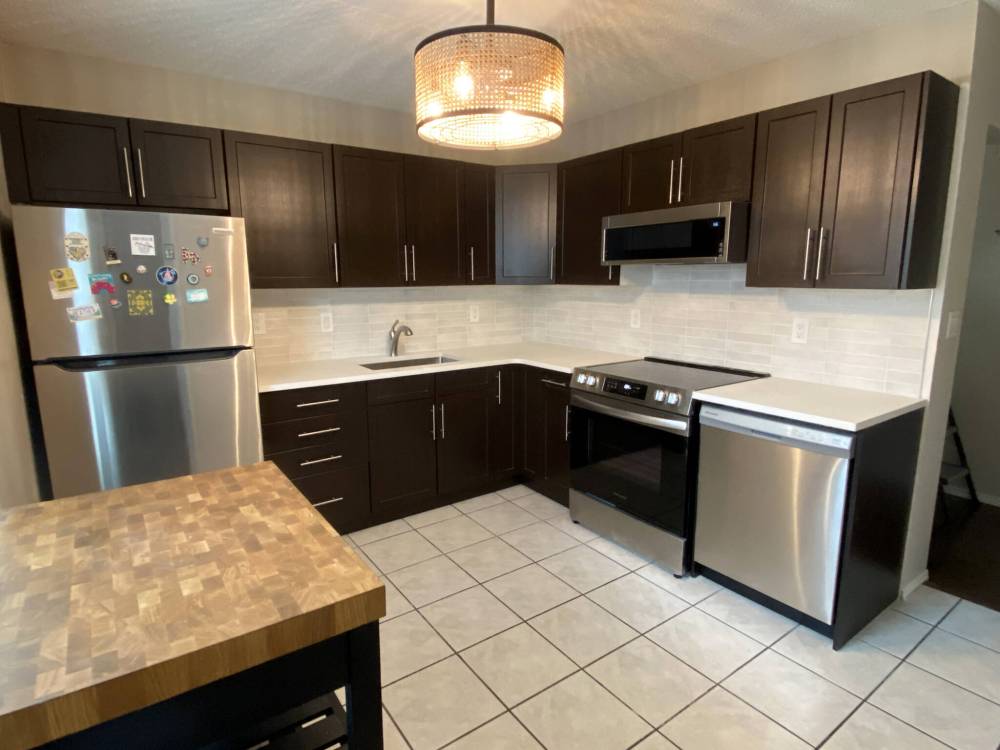
The look of the old kitchen transformed into a more modern esthetic.
Provided the existing kitchen cabinets are in good shape and continue to meet your esthetic taste, a homeowner can simplify a makeover by upgrading only certain elements and avoiding the cost of total kitchen cupboard replacement, which in some circumstances can easily render a project cost-prohibitive.
The roster of things to update in this kitchen included new quartz countertops, a new, single-basin undermount sink and faucet, and a brand-new tiled backsplash conforming to today’s modern looks.
To prepare the area for the upgrades, the old arborite countertops were to be dislodged and removed from the lower cabinets, once the existing sink and faucet were disabled. While the removal of the old, two-by-two-inch tiles along the existing backsplash had been planned, the tiles were not going away willingly without taking chunks of the drywall with them. So, the decision was made to fully remove the entire area of tiled drywall in larger pieces, a much cleaner and quicker process. The back wall below the upper cabinets would then be re-drywalled prior to installing the new backsplash tile.
During this process, hidden outlet boxes appeared in two locations. Although the wires had been capped within the electrical boxes, they had not been shielded before the old drywall had been installed. Beyond the offence of improperly concealing electrical boxes behind drywall, I wondered why anyone would elect to decrease the number outlets along the countertop of a kitchen. It made absolutely zero sense to me. However, the discovery doubled access to outlets in the kitchen, which made the homeowner extremely happy.
Once the two outlet boxes were re-engaged and tested, all outlet boxes were then aligned vertically before installation of the new drywall. From that point on, the project progressed as expected. The panels on either side of the dishwasher were adjusted slightly to the left, so they would not overlap the back wall into the hallway before the quartz top was added.
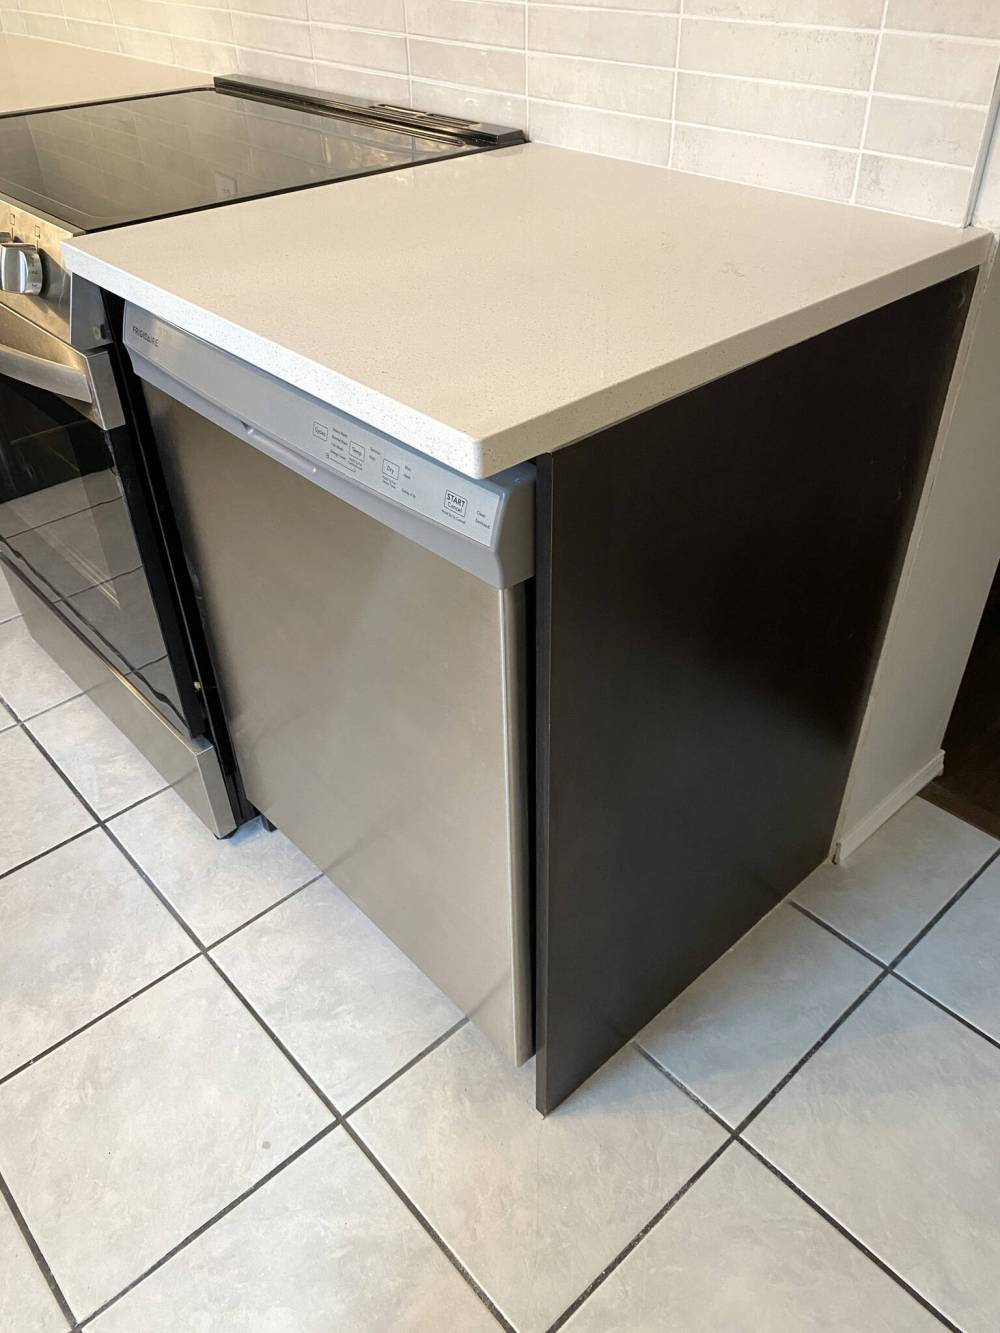
The quartz top was placed above the dishwasher once the panel placement was adjusted.
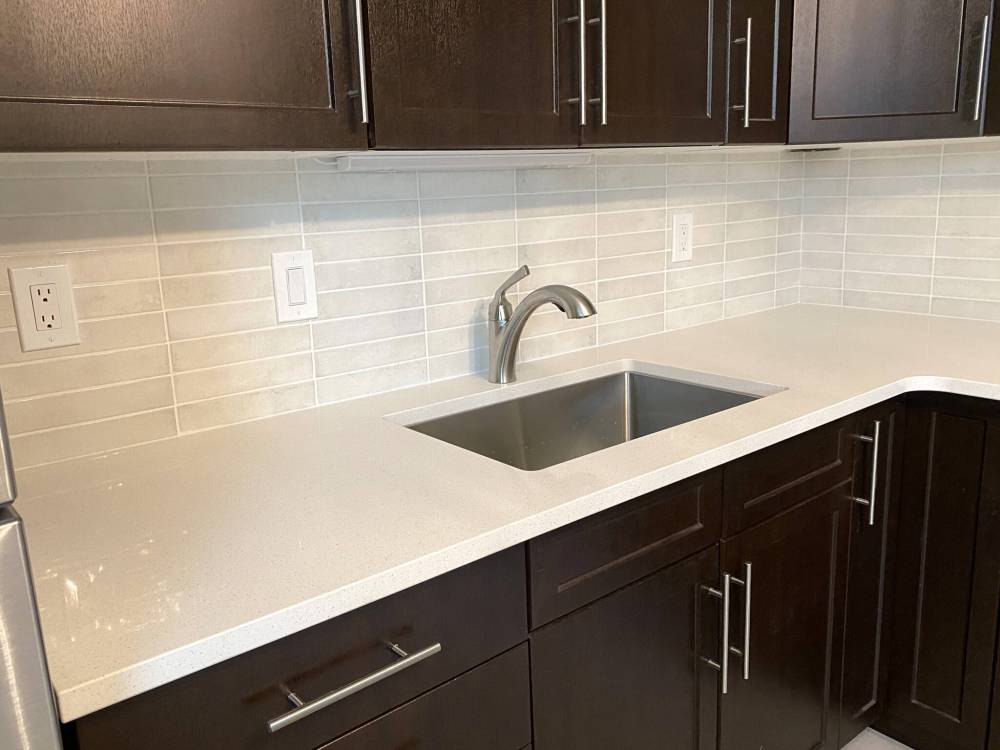
The main quartz top was mounted along the top of the lower cupboards along the back wall, and the undermount sink was secured from underneath. With new counters in place, the slender two-by-eight-inch tiles chosen for the backsplash were then installed one-by-one in both horizontal and vertical alignment, notched where required for the outlets and the newly introduced switch that controls a new undermount light above the sink.
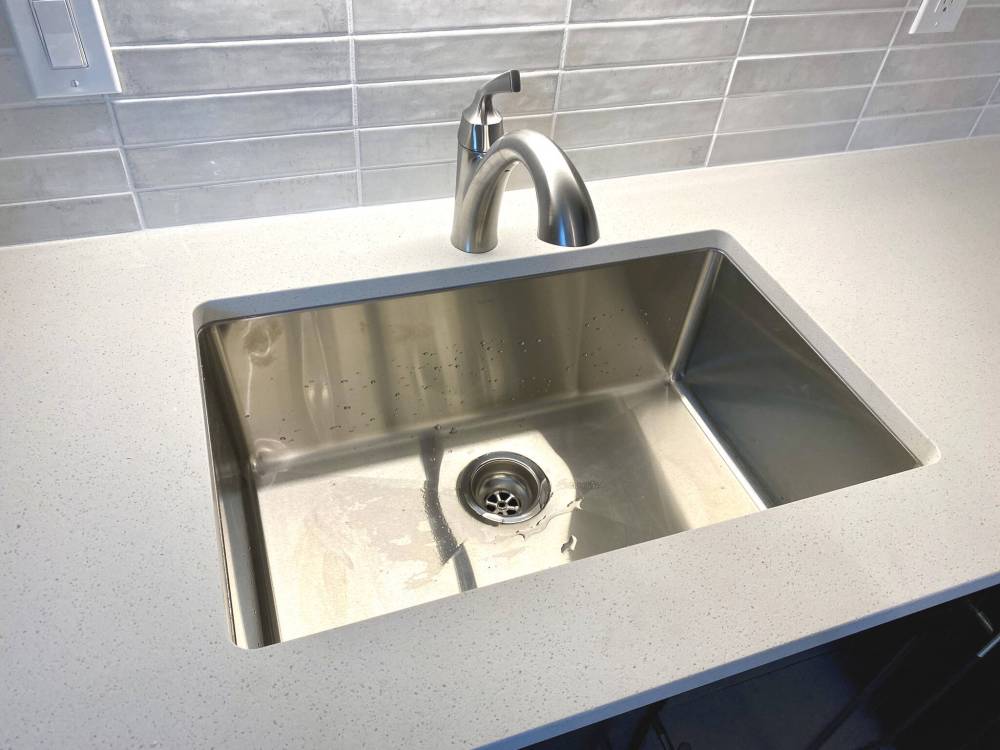
Allowed to set overnight, the entire backsplash was grouted. The new faucet was mounted, and the hot and cold water-feeds were attached. Finally, the ABS trap was configured to accommodate the new single sink drain, subsequently tied-in to the existing rough plumbing.
The elements were tested for proper functionality as the homeowner stood back and gazed at the kitchen facelift in amazement.
The concealed outlet boxes could have easily remained hidden during this upgrade, had it not been for the decision to remove the drywall behind the old and stubborn backsplash tile.
The homeowner had always wished she had more power options along the countertop area. Luckily for her, these two outlets have been set free to do what they have longed to do for nearly a decade — a truly surprising and somewhat serendipitous turn of events that amplifies the project’s successful outcome.
Marc LaBossiere / Free Press
The lineal rows and columns of the new backsplash compliment the quartz countertops.
RenoBoss.Inc@outlook.com
Marc LaBossiere / Free Press
The homeowner opted for a single-basin sink which required ABS drain reconfiguration below.
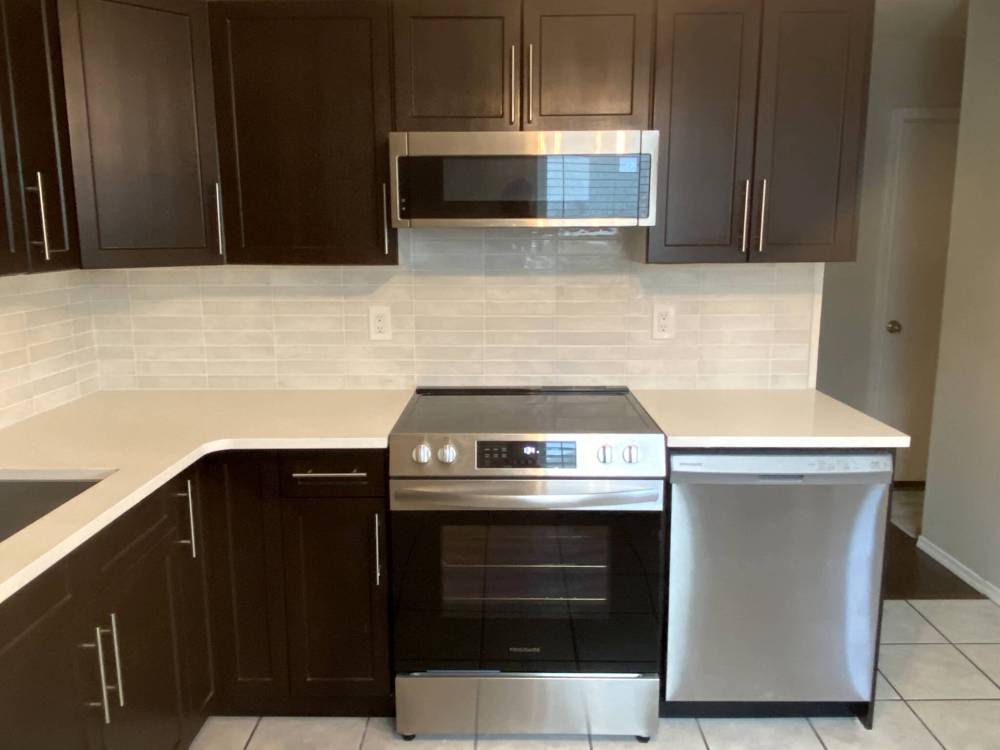
The concealed outlets were once again re-engaged after being revealed during demo.